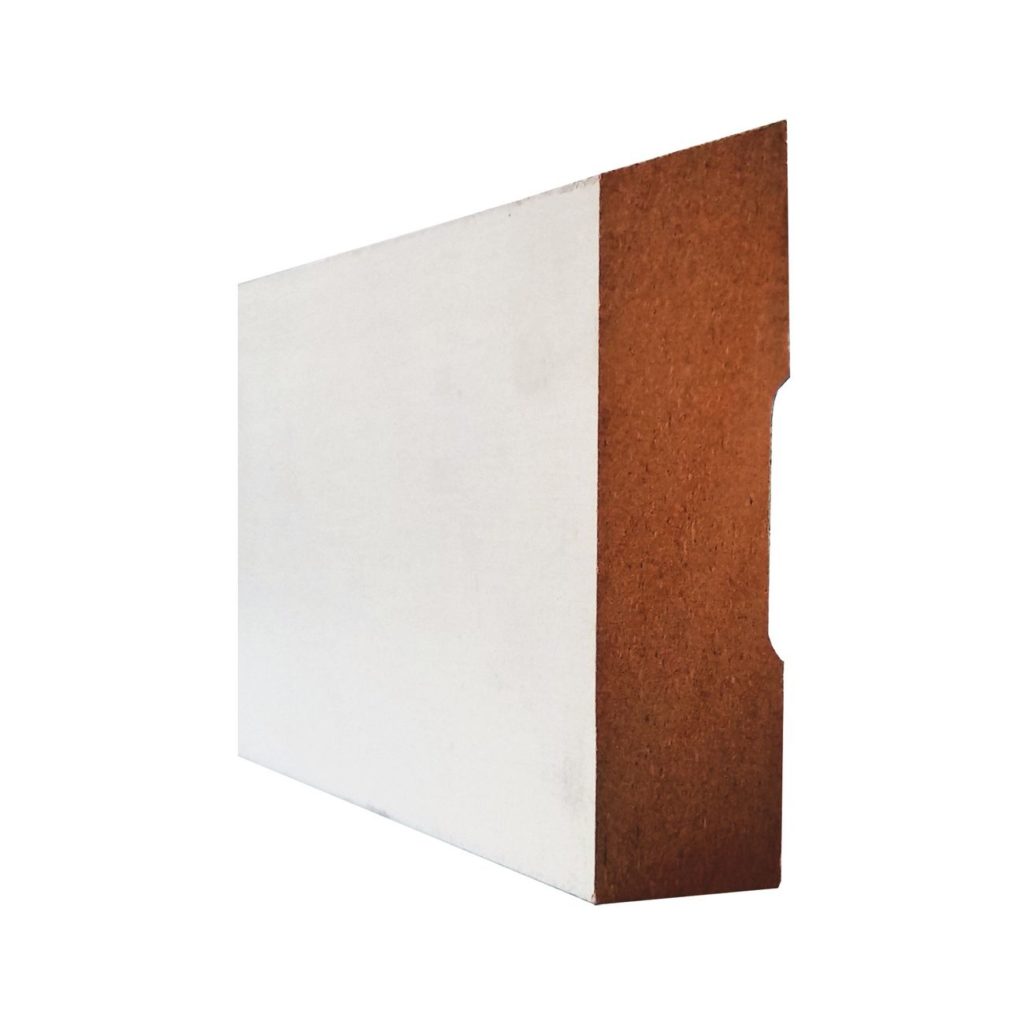
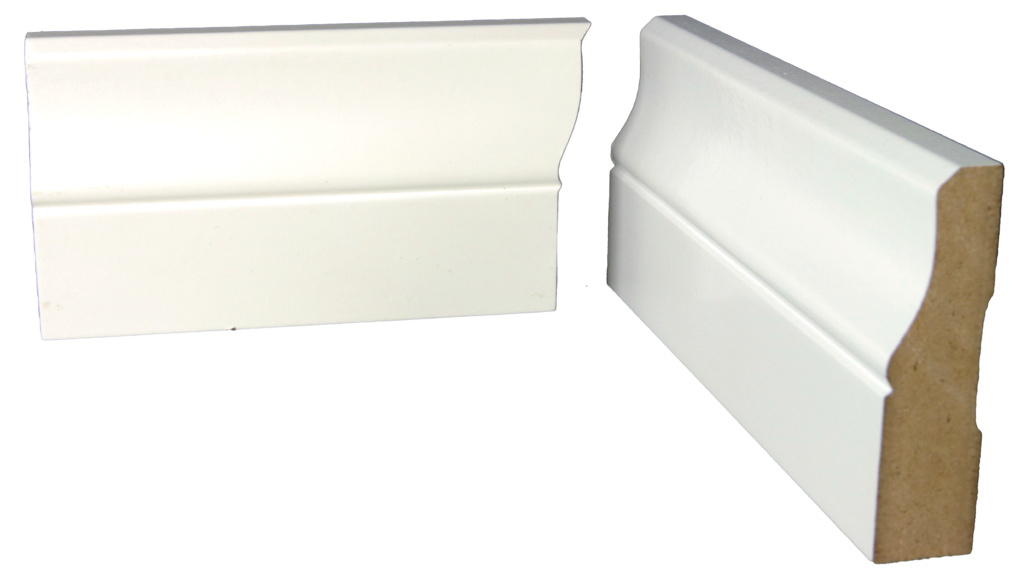
Lambs Tongue – Painted MDF Skirting Boards
Price range: $12.37 through $16.19 per metreSelect options
This product has multiple variants. The options may be chosen on the product page
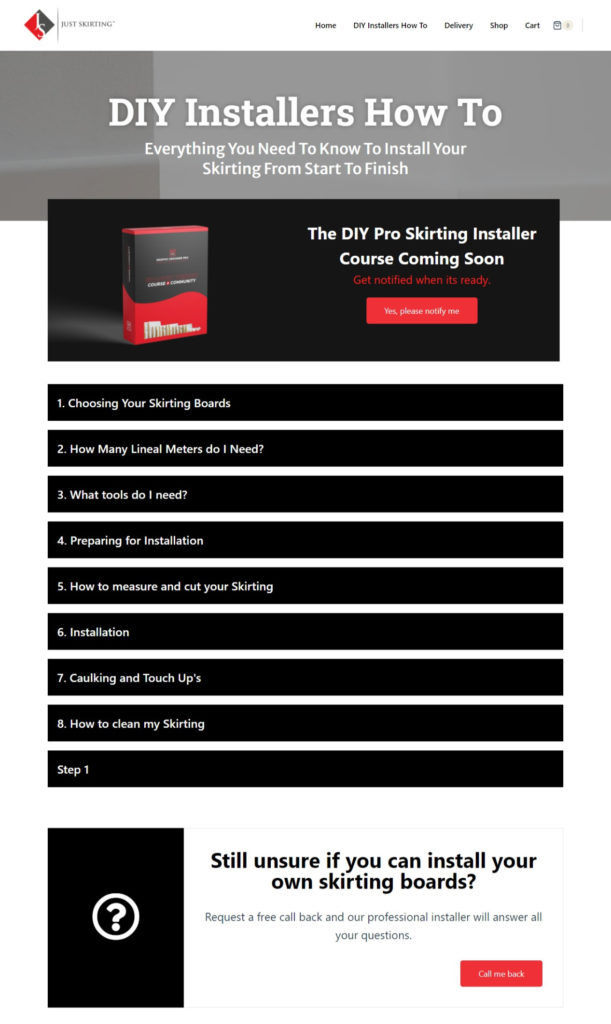
Follow the steps below for easy installation

Everything you need to know to install your own Skirting Boards
With thousands of profiles available it can be difficult to choose the right one. 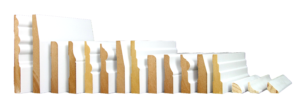
When considering which profile to choose, the general rule is to match the skirting boards with the features of your home. If you have a modern simple style with cove or no cornices and basic door frames, then the Half Splayed, Bevelled or Lambs Tongue will do the trick. But if your home has a bit more feature and character, then you might want to consider the Colonial, Federation, or the Three-Step profiles as they have more detail and will compliment a home with more character.
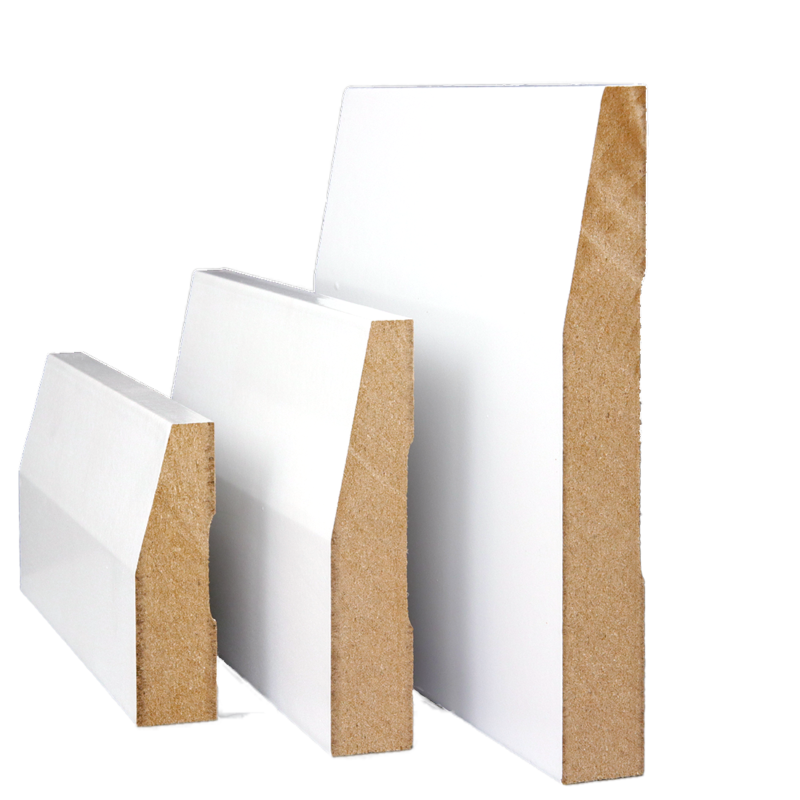
After selecting a profile, the next thing to consider is the height of your skirting boards. When it comes to sizes, the simplest rule is to follow the height of your ceilings. If you have a regular 2.4m ceiling, then 67-92mm would go well. If your ceilings are 2.7m or higher, then 92-140mm or above would be better suited.
Lastly, you will need to consider the colour of your skirting. In most cases matching the colour and sheen with that of your doors and frames is the simplest and most visually pleasing option.
Measuring how much skirting you need is a simple process.
Begin by taking your tape measure or laser measuring device if you have one and start by standing in the doorway or opening of each room, facing in. If you are right-handed, begin by measuring each wall starting from the door frame or opening on your right side, or from the left if you are left-handed. You will use the same method when cutting and fitting the skirting boards. Measure each wall and round up to the nearest 100mm. (1.95m = 2m)
Once you complete the room and have added up the total length of all walls, round up your figure to the nearest meter (14.3m = 15m). Repeat for each additional room.
Once you have the total measurements for your rooms, add an additional 10% to allow for mistakes and cuts (87m + 10% = 96m). If you plan to avoid joins in your skirting along the walls, keep in mind that your skirting boards come in lengths of 5.4 meters.
Before installing your new skirting boards, check that all walls and floor surfaces are free from excessive tile grout or render that would prevent the skirting boards fitting flush against the walls and flooring.
If you are replacing existing skirting it is important to remove any old adhesive, nails, and dowel along with loose or cracking paint, this can easily be done by running a painter’s scraper along the required areas.
Finally remove all dust or dirt from the floor to prevent gaps between the skirting board and the flooring.
Measuring:
Now you are ready to measure and cut your skirting boards. If you have purchased your skirting boards from us, you will need to take care when
handling them as they come pre-painted and do not require painting after installation.
Before measuring, cut a piece of skirting board at exactly 100mm. You will use this for a more accurate measurement. Start by standing in the doorway of the first room, facing inward, and beginning from either your left or right depending if you are right or left-handed, place the 100mm piece of skirting board on the wall up against the door frame and then measure from the 100mm block to the intersecting wall. Add the 100mm to your measurement. We use the 100mm block as it can be hard to get an accurate reading when trying to bend the tape into a corner.
Continue measuring and cutting in the same direction around the room using the cuts below as required.
Cuts:
Below are the cuts you will need to know to successfully cut and install your skirting boards.
Internal There are two methods for cutting internal corners, a mitre cut or a coping cut. The first is the easiest but tends to open after time, whereas the coping cut prevents the joint from cracking and coming apart, but requires a bit more work. I have detailed each method below.
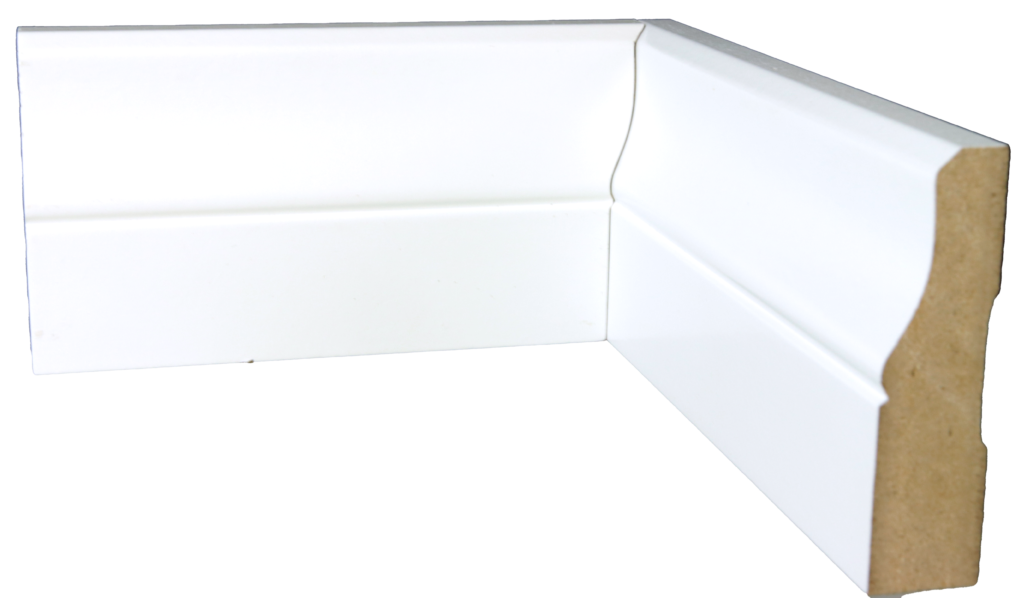
Mitre cut: For a 90-degree internal corner (the corners of a square room) cut both pieces of skirting on a 45-degree angle with the short side of the cut on the face of the board and the long side on the back. Both pieces are placed in the internal corner and glued together at the mitre with PVA Glue.
Coping cut: When cutting a coped corner, the first piece of skirting is a straight cut, the second one is a 45-degree cut with its face facing up and the short side of the cut being on the face. After cutting the 45 on the flat, take your coping saw and cut along the edge (from the top to the bottom) where the paint meets the raw material, cutting on a slight angle so the back of the board is shorter than the face. What you should have if done right is a cut that nicely follows the profile of the skirting board, this piece will then butt up to the piece with the straight cut.
A coping cut is generally only used on internal corners around the 90-degree mark.

External:
External corners are always mitre cuts and the same as internal corners just in reverse. This cut is also used on internal corners around bay windows.
Returns:
A return cut is used when finishing a piece of skirting where it has nothing to finish up against or where you want the end of the skirting to look as if it was returning into the wall or a BIW sliding door.
A return is just the same as an external corner mitre cut, but the piece returning to the wall is 18mm long.
Door Cuts:
The door cut is a straight cut with the edition of the front edge of the face being cut off on a 45-degree angle. This is achieved by laying the skirting flat on the base of the drop saw, setting the saw to lay on a 45-degree angle and taking off 5-10 mm from the end.
Tips:
Most times taking 5mm off the back edge of the skirting board for internal corners and door cuts, makes it easier to get the skirting tight against the wall, as often the door frames and walls have rounded corners from the plastering (this applies to rendered walls only).
Once you have measured and cut your skirting boards, it’s time to fit them to the wall.
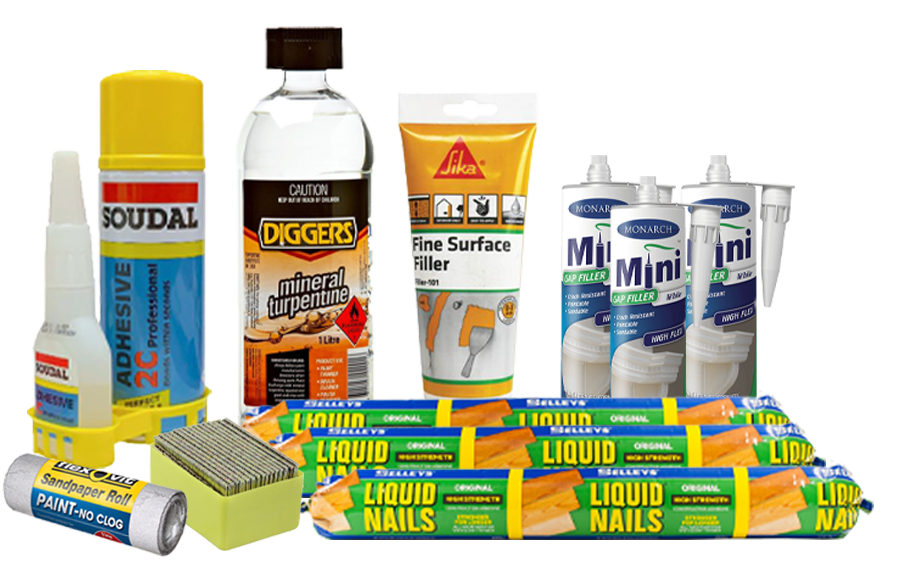
There are two options that are used to fix painted skirting boards. The first is to simply glue it to the wall (Selleys Liquid Nails) and use something heavy like a brick or paver wrapped in a rag to hold the board against the wall until the glue sets.
The other method is to glue and use a fixing nail gun to fit a few hardened steal nails in the face of the skirting board to hold it in place until the glue dries. This method is preferred as it is much better at holding the boards tight against the wall, the downside is you will have a few small holes to fill and touch up with paint.
When it comes to external corners there are two options, the first being PVA glue and two small nails to hold the joint closed until the glue dries (24hr) or my preferred option, an instant glue like Mitre Fast or Soudal C2 Professional Adhesive. The instant glues come in two parts, the glue, and the activator. The glue is applied to one side of the joint and the activator sprayed on the other, once they have been pressed together for 10 seconds the joint is secure. Warning, this glue can easily stick your fingers to the skirting or each other, so take care to prevent it from getting on your hands.
The last step in the process is to caulk up the small shadow line between the wall and the top of the skirting board. For the best finish I recommend using Monarch white gap filler. You will also need a damp sponge and a silicon caulking tool.
Use the damp sponge to wipe where the top of the skirting and the wall meet, this makes for an easy clean up after applying the gap filler. Now apply a small bead of gap filler into the gap while moving the caulking gun along the wall. Once you have applied the gap filler take the silicon spatula and remove the excess filler and then use the damp sponge to wipe off any remaining residue to leave a professional finish.
Now we need to fill those small nail holes and corners, for this you can either use the gap filler or a better option is the Selleys Rapid Spakfilla, keep in mind this will go hard once dry, so clean up around the area with the sponge.
Now its time to do the final paint touch-ups. Use a small craft paint brush or a cotton tip to apply the touch-up paint to all external corners and nail holes that were previously filed.
Skirting boards generally can be cleaned with water and a damp cloth, but for more persistent scuff marks from shoes, the vacuum cleaner or from the installation, a rag with Mineral Turps will do the trick.
Request a free call back and our professional installer will answer all your questions.

We’re all for DIY! But if you’d rather skip the work, our team can do it all for you — so you can enjoy a flawless finish without lifting a finger. Contact us today for your free measure and design consultation.